skip to primary navigation skip to content


Conservation « The Polar Museum: news blog

Conservation

“Please touch the objects”: planning our first touch tour

Tuesday, November 17th, 2015

tour2

A couple of weeks ago, the Polar Museum held its first touch tour for people with visual impairments. This was a subject particularly dear to my own heart: my own son is registered blind and I’ve become increasingly aware that museums are not always the most accessible places for blind and visually impaired visitors. But it’s also interesting to me because it ties in with a current dilemma for museum conservators: balancing access to the collections with preservation.

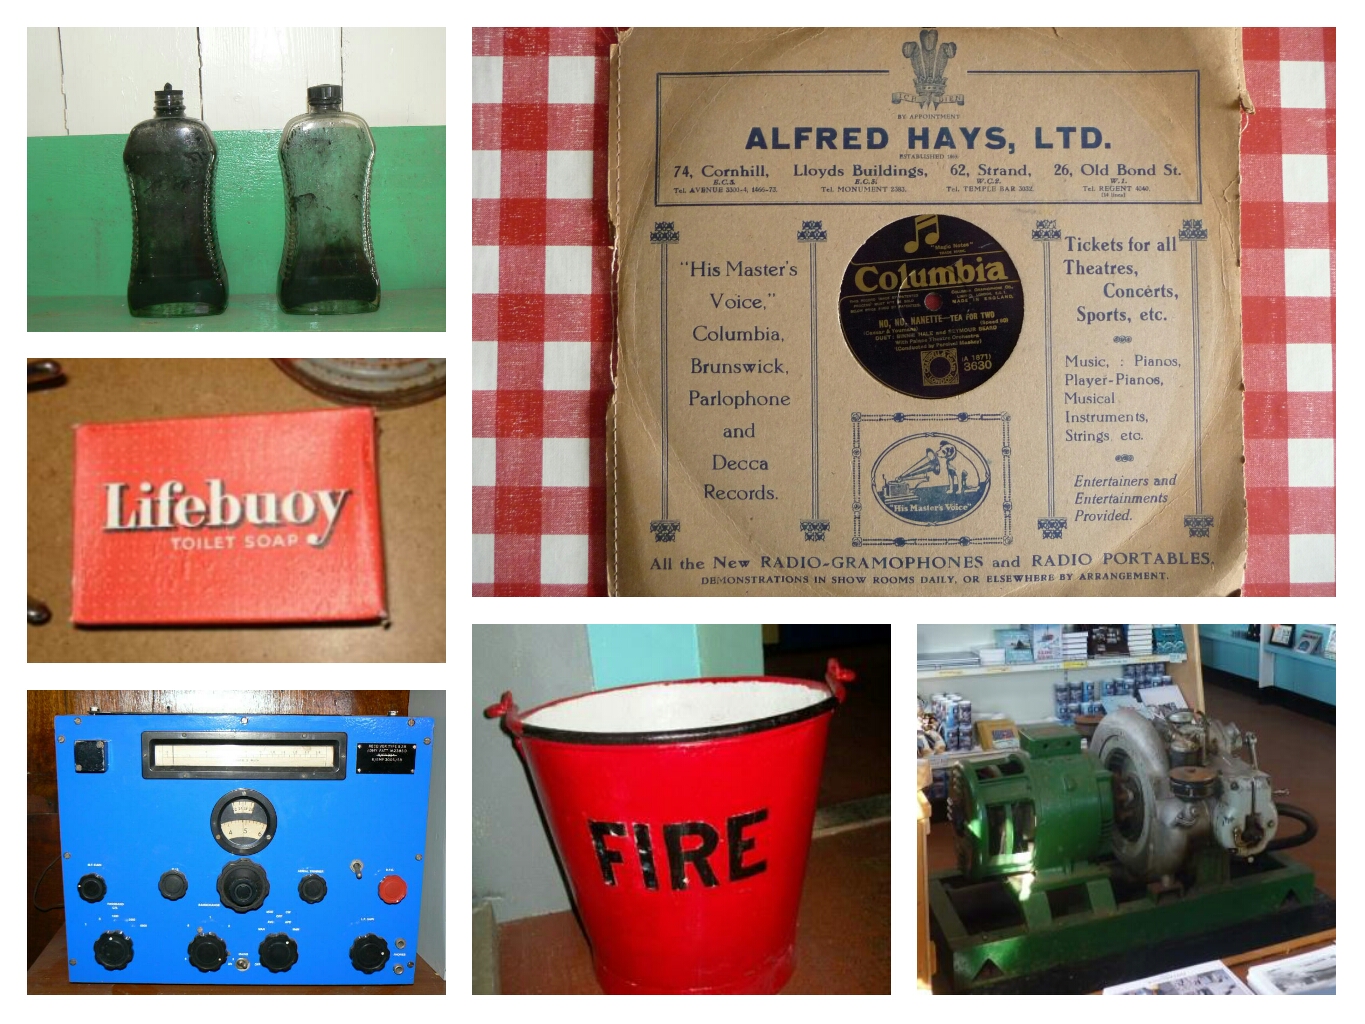
Several weeks before the tour, Sophie, Rosie and I went down to our stores to look for suitable objects. We were looking for things that were robust enough to be handled, that had enough tactile detail to be interesting to people with little or no vision, and that told the story of the polar regions and the people who have lived and worked there. Here’s what we came up with:

tour1

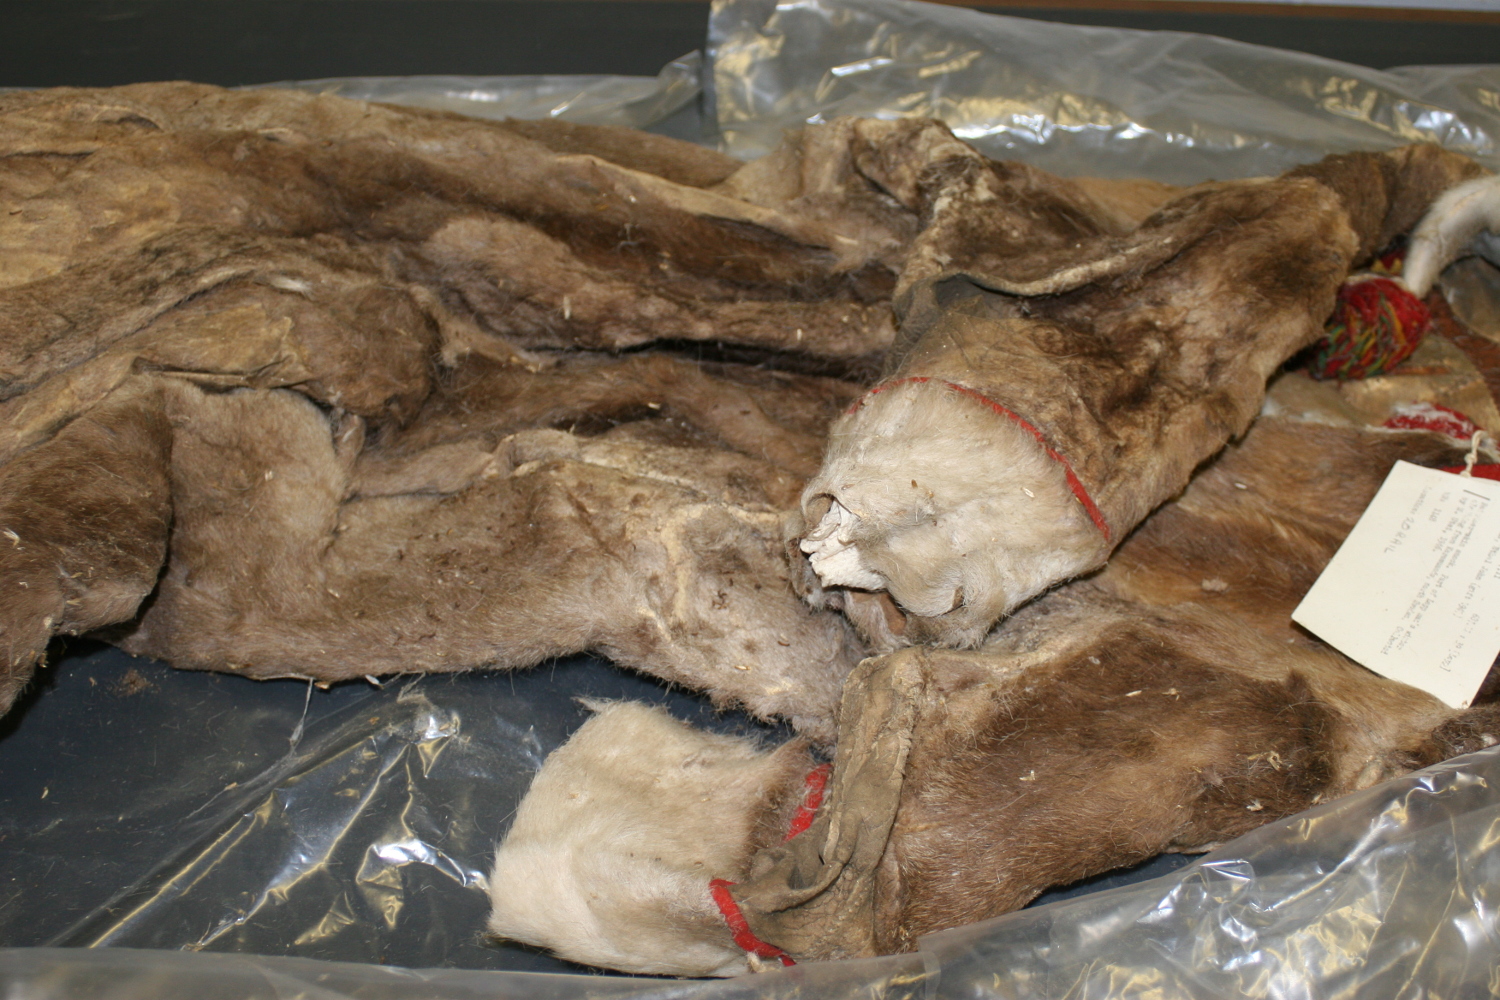
Our objects fell into two groups: items related to polar art and crafts (Inuit sculpture and carved scrimshaw), and items related to survival and everyday life (including boots and a primus stove used on the Terra Nova expedition). We tried to cover a wide range of themes: Arctic and Antarctic, exploration and science, domestic life, art and crafts, objects old and new, different materials, textures and sizes … all in just seven objects! We also made sure that we had plenty of items available from our education handling collections, including a full suit of modern polar clothing:

IMG_6704

We were very lucky to have two conservation interns (Ronja and Megan) and three brilliant volunteers (Alex, Lenny and Claire) helping out, so we ended up with a team of ten people in all. A week beforehand, we got together to plan the tour. An important part of that was training: Rosie showed us how to support visually impaired visitors to the museum, and we all took turns to guide blindfolded colleagues around the museum. It was a very illuminating experience to be in a familiar space but without sight, and also to think about kinds of information are useful to visitors who cannot see the objects.

We then tried out some blindfolded handling. Here are Sophie and me presenting some objects to Willow and Alex … and then having a turn on the other side of the table:

tour3 tour4

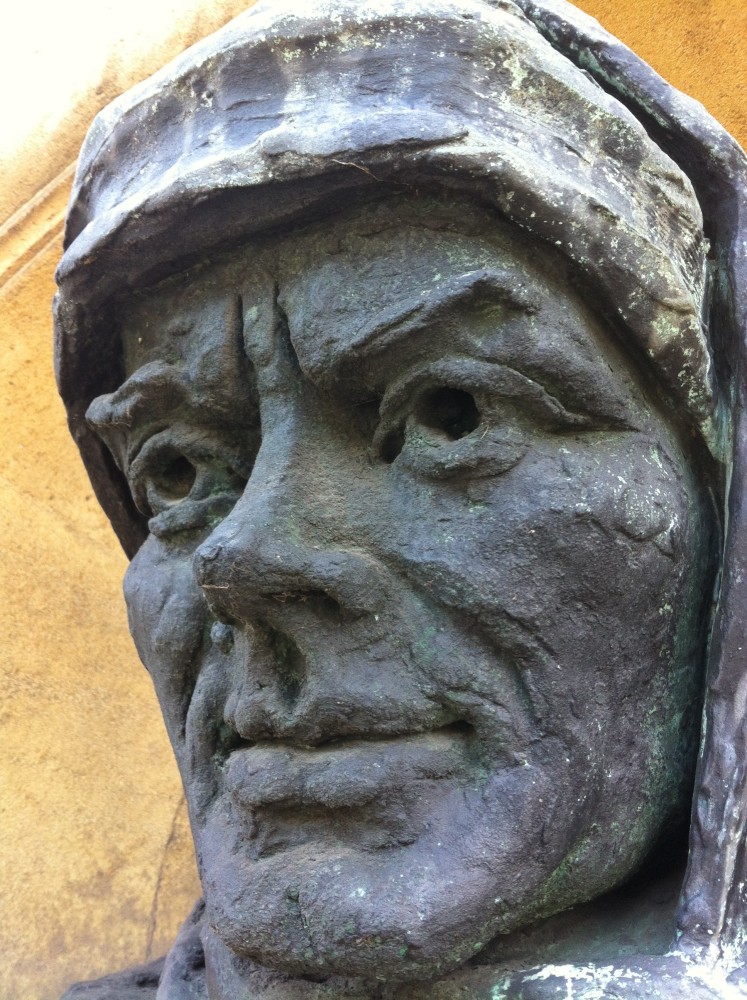
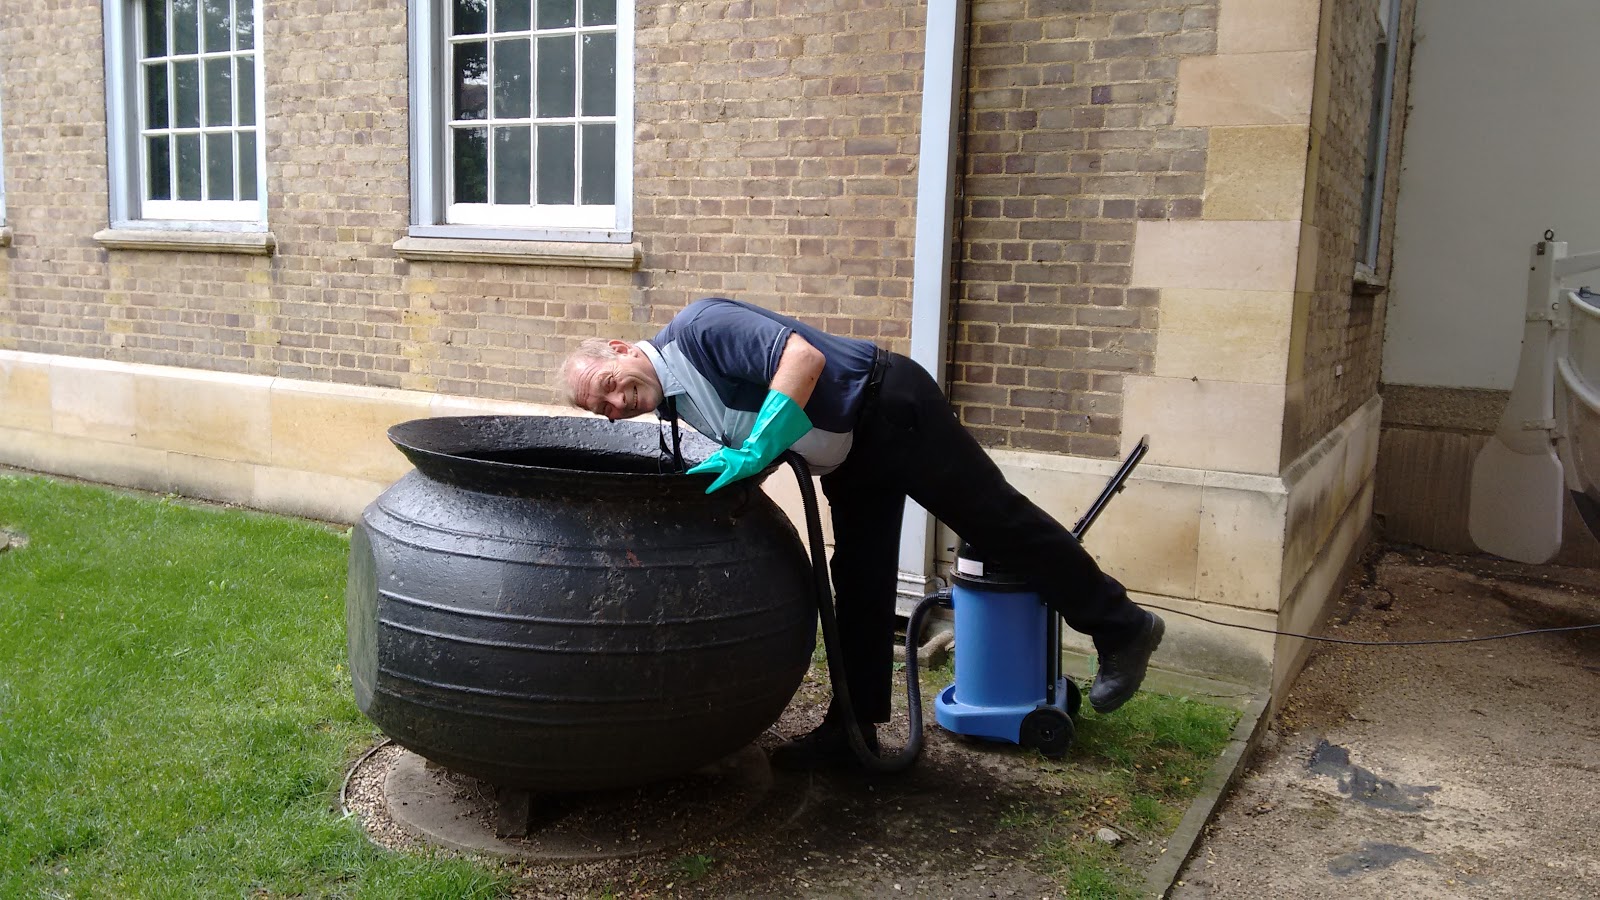
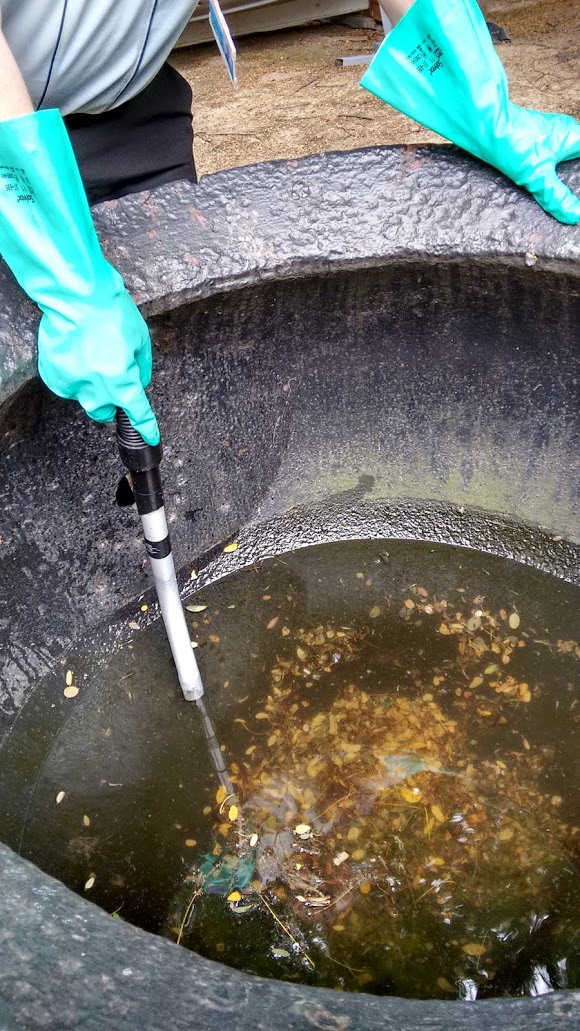
We also tried out a tour of our outdoor sculptures, many of which are gorgeously tactile – and one of which encourages some rather “intimate” encounters:

IMG_6751 IMG_6747

After that, we were ready for the touch tours! We had about 15 visitors over two sessions, and they all had a chance to handle several objects and to talk to conservators, collections staff and volunteers at the Polar Museum. One of the most popular objects was an Inuit carving called Unexplainable Joy of Becoming Grandparents:

PhotoGrid_1447763363238

Although the sculpture is mainly made from serpentine, the faces are inlaid in reindeer antler. The tactile contrast between the cool, smooth stone and the warm, slightly ridged antler is wonderful. The subject (the bond between grandparents and their grandchildren) is also a universal one and led to interesting discussions and recollections from the visitors.

We all really enjoyed putting together our first touch tour of the Polar Museum collections, and look forward to running more next year – watch this space!

Christina

Giving the goggles a new home

Tuesday, November 3rd, 2015

In our museum stores we have a large number of googles from many different expeditions. There have already been a few blog posts about our goggles (for example, here, here and here), but this time I’m going to write about their storage. At the moment the goggles are stored together in six drawers. There are 113 objects in the drawers in total, including the goggles themselves plus some original cases. This does not include the 11 additional goggles currently on display in the museum!

Drawer_F

Until now, the goggles were just loosely laid in the drawers, with some squeezed into their original cases. The aim of rehousing the goggles was to give the objects the space they need, so they don’t harm each other. It should be possible to open the drawers without the goggles rolling around from the movement! We wanted to store the goggles out of their original cases, so that they are not too cramped. The objects need to be easily accessible and visible inside the drawer. Overall, the objects should be easily handled and transported in their surrounding box or board, and the object’s carrying tray should not have too many different measurements to make it easier to put them back when more than one is taken out.

With that in mind, I came up with four proposals. First was a box without a lid, made from a conservation-grade corrugated plastic board called Correx. I wanted to make a box in a single piece, so that there wouldn’t be much adhesive needed. To do this, I designed sides that could be folded over and slotted into the base:

plan1

However, I found that it was hard to pick up a single box when they are all packed closely within a drawer. And having four sides (especially when they are folded, and so double thickness) takes up a lot of space: each side is about 1 cm thick, so you lose 2cm of space in the drawer for each box. This is a lot of space to lose when there are so many boxes to fit into the drawers!

The second option was a flat board with cut-out edges to make it easier to pick up:

plan3

This had the advantage of taking up less space, but didn’t provide as much protection for the objects as a box with sides.

My third idea was to make a grid of interlocking walls – these could be slotted together like the dividers that you get in wine cases. The flat boards above could sit inside the spaces. By taking out or adding walls, you could create different-sized spaces:

plan4

This took up less space than the previous option, but made it harder to accommodate different-sized boards or to rearrange the boards within a drawer. I also found that it was hard to lift the boards out from their grids, even with finger-holes cut out of the edges.

And last but not least, I considered making a box with only two sides. These sides would create walls between the objects once the boards were placed together, but took up less space than a four-sided box. Having sides on the box (rather than a flat board) also meant that they could be lifted easily out of the drawers:

 plan2

In each of these designs, the object itself lies on a layer of archival foam, with cut-out areas to support vulnerable parts like the eyepieces. Between the foam and the object, there is a separating layer of acid-free tissue.

In the end I decided to put the all goggles into two-sided boxes (option 4 above), and to put the very compact and stable cases onto a flat board (option 2 above). That way, even the quite unstable and moveable bits of the goggles got additional protection from the box, and the cases fit better on a board:

DSC_0026
DSC_0031

Where there were different materials already in conflict with each other (e.g. metal that has started to corrode and affect an attached textile strap), I tried to created a little barrier by wrapping one of the parts in acid-free tissue. This is not going to stop the materials from affecting each other, but it slows the process until treatment becomes possible:

DSC_0027

I chose four different sizes of box (really small and really big, as well as two middle sizes), to make better use of the space. I developed a net (template) for the different sizes, so the box can be folded up and is only glued once. The acid-free tissue is clamped on to the foam and the foam is fixed to the board by toothpicks that are then cut down so they don’t stick out. I made the process quicker by cutting out all of my materials in advance:

IMG_1007

Here’s one of the storage drawers looking a lot tidier:

Drawer_H-after

I would like to thank the museum conservators and team for the opportunity to work on this project and write this blog, and for making me so welcome to their team. It’s been very interesting and fun so far!

Ronja

Hanging is not too good for them…

Tuesday, October 27th, 2015

The Polar Museum has almost 3000 artworks including masterpieces by Edward Wilson and David Smith.  The majority of these are unframed and kept in dark storage. However, we do also have some framed artworks which we keep in compact mobile racking in the store:

photoracking     photo racking

The framed art is hung on grids with hooks, which keeps the pictures from banging into each other and damaging the frames.

A lot of these works are oil and acrylic paintings, but a recent audit showed that there were also quite a lot of engravings and other works of art on paper, framed and hanging in the mobile racking.  These works are much more light sensitive than the oil paintings and really should be kept in the dark as much as possible.

Another problem is that some of the frames are really old and might actually disintegrate and fall off the racking, which would be bad for the pictures, to say the least!  Here is a very dodgy looking screw fixing on the back of one picture:

screw

And the paper tape around the back is sometimes so old it just crumbles away:

tape

Our recent risk assessment, carried out with the help of colleagues from the UCM, showed that tackling these problems should be a conservation priority. So we have started a project to improve things for the vulnerable artworks by taking them out of their frames and finding better homes for them in dark archival boxes.  It is simple but satisfying work, especially when it is obvious that the artworks will immediately be better off out of their frames.  For example, this looks like a piece of plywood:

plywood

But actually it is the back of a paper artwork (a lithograph) showing birds!  If you look closely you can even see the “ghosts” of two birds in the wood grain pattern on the paper.  The front of the picture looks like this:

birds

Unusually, the framer put the wooden back of the frame directly over the paper rather than using a cardboard mount, and the acid in the wood has discoloured the artwork on the back.  Over time this would eventually penetrate through to the front and ruin the image.  Already the acid damage has made the paper rather yellow and unusually brittle.

Some frames are beyond saving, but many of them are kept in the attic so we can re-unite the frame and artwork in the future if we want to.  This is especially important for original paintings and drawings where the artist themselves chose the frame.

We keep the frames in tough padded bags called Stiffy Bags, which we order in various sizes.  You can see from the size of the Stiffy Bag delivery that I will be deframing art and packing frames for quite some time!

photo 1425


Sophie


Condition assessing in the Antarctic

Tuesday, October 13th, 2015

Last week, Sophie and I spent a day training a team from the United Kingdom Antarctic Heritage Trust. UKAHT “works to conserve Antarctic buildings and artefacts, and to promote and encourage the public’s interest in its Antarctic heritage“; among other things, the Trust generously supports our Conservator post at the Polar Museum. The work they do is fantastic, so we are always pleased to help them where we can!

(left to right) Adele Jackson, Rachel Morris and Iain Pringle from this year's UKAHT team.

(left to right) Adele Jackson, Rachel Morris and Iain Pringle at SPRI last week.

Port Lockroy was a British Antarctic Survey base until 1962, and was renovated in 1996 to return it as far as possible to its original condition. The base is now maintained by UKAHT as a historic monument under the Antarctic Treaty and receives about 18,000 visitors each year. Each year a team of four people is recruited to live and work in Port Lockroy during the summer season (November to March). The team will be incredibly busy during their time there, maintaining the buildings, monitoring the local gentoo penguin colony, welcoming visitors to the site and museum, and running the gift shop and post office among other things!

This year’s UKAHT team – Rachel, Iain, Laura and Adele – will be also be carrying out a new task: beginning a condition survey of the 2000 objects that are in Bransfield House, the main building on the base. Many of these objects date from the 1950s and are both historically significant and irreplaceable. It’s very important, therefore, to monitor their condition and conservation needs, to ensure that they can be cared for appropriately.

Sophie and I were asked to help design a condition survey that could be taken out to Port Lockroy and carried out by the team this season. It would be impossible to cover all 2000 objects in the four months that they are there, so we selected a sample of 200 objects to begin with. This includes all of the most significant objects, plus a random selection from among the rest – anything from an entire cooking range to a single spoon:

These photographs reproduced by kind permission of the United Kingdom Antarctic Heritage Trust (www.ukaht.org). © UKAHT.

These photographs reproduced by kind permission of the United Kingdom Antarctic Heritage Trust (www.ukaht.org). © UKAHT.

The first batch of survey objects also includes a radio receiver, a fire bucket, books and records from the lounge, clothing, bottles of ink, skis, portraits of the Queen and Duke of Edinburgh, a bar of Lifebuoy soap, a generator…

These photographs reproduced by kind permission of the United Kingdom Antarctic Heritage Trust (www.ukaht.org). © UKAHT.

These photographs reproduced by kind permission of the United Kingdom Antarctic Heritage Trust (www.ukaht.org). © UKAHT.

…8 murals from 1960 of pin-up icons, including (below, left to right) Diana Dors, Jayne Mansfield and Marilyn Monroe…

These photographs reproduced by kind permission of the United Kingdom Antarctic Heritage Trust (www.ukaht.org). © UKAHT.

These photographs reproduced by kind permission of the United Kingdom Antarctic Heritage Trust (www.ukaht.org). © UKAHT.

…and lots of packets and tins from the pantry:

These photographs reproduced by kind permission of the United Kingdom Antarctic Heritage Trust (www.ukaht.org). © UKAHT.

These photographs reproduced by kind permission of the United Kingdom Antarctic Heritage Trust (www.ukaht.org). © UKAHT.

With such a range of materials and objects involved, UKAHT asked the Polar Museum conservators to provide training in how to assess condition and record damage. Three of the Port Lockroy team came to the Polar Museum last week, and spent the day learning how to handle objects:

PhotoGrid_1444754672815

and examine them for signs of deterioration:

PhotoGrid_1444388692201

After lunch, the team did a practice condition survey with some of the Polar Museum’s objects, so they could get used to filling in the form. Consistency can be difficult with condition surveys, especially where there are several people doing the assessment. Your perception of how serious damage is may be wildly different from your colleague’s – or even from your own results last week (there is lots of evidence to show that judgement is affected by how tired, or hungry, or grumpy you are)! We tried to limit these inconsistencies by providing training in how to rate object stability, and also by giving the team a manual with lots of notes and photographic examples in it. We also tried to make the form quick and easy to fill in; Bransfield House is luxurious by Antarctic standards (between 4°C and 15°C during the Austral summer), but it’s still not much fun trying to write in those temperatures!

PhotoGrid_1444397892932

Adele, Iain, Rachel and Laura will be going South on 7 November. You can follow their progress on the Port Lockroy blog. We wish them all the best for their season, and look forward to hearing how they get on with the condition survey!

Christina

It’s freezing!

Tuesday, September 29th, 2015

Our museum contains objects made from many different materials, including fur, textile, leather, wood, plastic and metal. Many of these materials, especially the furs and textiles, are susceptible to insect attack from moths and some varieties of beetles, such as the vodka beetle, and our best defence against them is FREEZING COLD. Often the insects might not themselves be visible, more often we see the surface evidence of insect activity only, such as bald patches where they have been grazing, frass (droppings), cast skins, or larval cases.

OLYMPUS DIGITAL CAMERA

It is almost impossible to eradicate such pests from an old building like ours so we maintain a check of the situation by using small sticky traps placed at strategic points throughout the building which are regularly inspected:

image2 image3

However, monitoring and trapping is not failsafe – outbreaks of infestation can happen. Cracks, vents, and drains all give insects access to every part of the building and this includes the basement where the museum stores are located. Once in, if they find the food they are looking for they can quickly spread and, unchecked, can cause irreparable damage in a matter of only weeks:

image4 image5

Low temperature control is an established technique used to kill insects within museum collections. Cooling a room below +15 ºC can slow or stop the growth, feeding and breeding of museum insect pests, but subjecting them to temperatures of lower than -20ºC will eradicate the insects, their larvae and eggs for good.

At The Polar Museum, our practice is to routinely freeze all organic material coming in from outside the building even if no pest is evident, unless the items are felt to be at high risk of damage from freezing – we do not want to risk the infestation of an object spreading to the rest of our collections. This is the procedure for not only new acquisitions but also for our own objects when they are returned after having been on loan to another museum for temporary exhibition, as we cannot be one hundred percent certain they have not been exposed to pests whilst away. The objects are wrapped in clear polyethylene and sealed with tape before freezing. We wrap them not only to immediately contain the potential infestation, but also to prevent moisture changes in the object during freezing which could result in possible dimensional changes which can cause cracks, for example. We are very fortunate in that we have on the premises a walk-in room sized cold room, which can be set to a very chilly -34 ºC. No pest yet discovered can survive a week at this temperature!

image7

We have many materials within our collection that could be damaged by freezing temperatures, such as rubber (in goggles and footwear), liquid (medical supplies, including thermometers and pharmaceuticals, and high precision scientific instruments such as compasses) oil paint and varnished objects. These objects cannot be frozen, and so instead are wrapped in polyethylene and returned to the stores and monitored for any tell-tale sign of pest activity.

On occasion we have been able to help other museums in Cambridge who do not have the luxury of a walk-in cold room as we do. Recently we were approached by Kettles Yard, an art gallery and house, who are currently preparing for a major building project to improve and build upon their education and gallery spaces. Whilst in the process of packing and moving the collections for safekeeping during the building work, they discovered a number of live moths emerging from some of the textiles, specifically from a collection of rugs, and contacted us immediately for help! Luckily the cold room was not being used so we could offer to freeze all of the affected objects – a total of 25 large rugs- in one batch. They arrived a few days later, with the rugs all tightly wrapped and labelled, and we set about navigating them through the building and down three flights of stairs to stack ready for the cold room.

image6

Walking into a freezer set at -34 ºC is not without risk, however – hypothermia can lead to death, so whilst the risk of something going wrong is low, the severity of the situation if it did, would be major. Accordingly, lone working is never to be undertaken, and we have procedures in place for staff use of the cold room to ensure risk is mitigated. External users are given induction training in the safe use of the cold room and are asked to read and sign a risk assessment. Warm clothes, sensible shoes and gloves are to be worn. As an extra safety precaution, we must have a ‘buddy’ elsewhere in the building who knows what time we enter the cold room, and what time we expect to be out. If we have not reported back by the pre-arranged time they must come and check we haven’t managed to slip, knock our heads together and pass out in the freezing temperatures. Hypothermia is not something we take lightly, here at The Polar Museum.

image8

The freezing of the rugs from Kettles Yard went well. After a week and a half (for good measure), Sophie and I braved the cold again and removed the frozen rugs from the cold room, laying them in the basement, still wrapped, to slowly come back up to temperature. Another success in the battle against infestation! RIP, museum pests.

Willow

Time to put on a hard hat….

Tuesday, September 15th, 2015

During the recent refurbishment of the front of the Institute, I took advantage of the scaffolding to go up and have a closer look at the bronze bust of Scott in a stone alcove above the front door.  It is very rare to have such good access to this sculpture and I wanted to see what sort of condition it is in. So with hard hat and hi-vis vest on, I went up to have a look:

20150827_153227       photo8

The bust is by Scott’s wife Kathleen and has been on the front of the Institute building since 1934.  Kathleen was a professional sculptor, and it is easy to see that she worked with Auguste Rodin (who was actually a guest at her wedding to Scott).  Her style of modelling skin and cloth owes a lot to Rodin – here is a picture of his bust of Jean d’Aire, one of the Burghers of Calais, alongside the Scott bust for comparison:

        photo7

When seen close up, the bust of Scott is twice life size and looks almost alarmingly craggy!  The sculpture was designed to be seen from far away, so the features are deliberately very exaggerated so they would be visible from the ground – right down to the big wart on Scott’s top lip:

photo3

The bust is in pretty good condition considering it has been out in all weathers for over 80 years.  The surface is patchy and green but the corrosion is not damaging or out of control – many sculptors even deliberately treat the surface of bronzes to achieve this effect.  The bust is screwed to a solid core with a huge bolt:

photo6

It is also sitting in a nifty lead tray which catches rainwater running off the surface. This water can be coloured green from the corrosion on the sculpture, and if it just flowed off the bust onto the stone below it would cause a big green stain on the building.

Pigeons are damaging for metal sculptures because their droppings can accelerate corrosion of the metal.  Luckily there were just a few droppings round the sculpture and it doesn’t look like any pigeons have ever nested on Scott’s head.  Perhaps his hood is too pointy for them to get comfortable! I removed the droppings with stiff brushes, and also cleared out the space behind the bust which was full of dead leaves etc.

20150827_153021

While up on the scaffolding I also enjoyed a unique close-up view of the lovely 1930s stone carvings over the windows which match the pillars inside the Memorial Hall behind – a mother and baby penguin for the South Pole and a polar bear for the North:

photo      photo2


Sophie

Hello to Ronja!

Friday, September 4th, 2015

This week we welcomed a new conservation intern to the Polar Museum!

Ronja

Ronja Fröhlich has joined us from the University of Applied Sciences (HTW) in Berlin, where she is studying for a degree in the conservation of modern materials. Before she started her degree, she did a year-long internship, working partly with a conservator in private practice, and partly at the film museum in Potsdam, treating objects as diverse as film projectors, photographs and a Hastings aeroplane from the late 1940s! Since then, she has worked on a new display at the Gedenkstätte Berlin-Hohenschönhausen, a memorial on the site of a former Stasi detention centre in East Berlin, as well as a variety of nineteenth- and twentieth-century objects and vehicles.

Ronja will be with us for three months, working alongside the conservators on a range of projects. She has already been busy carrying out our quarterly inspection of pest traps around the Museum and Institute buildings, and next week she will begin rehousing our extensive (and diverse) collection of goggles. After that, we will be drawing on her expertise in modern materials when we assess the condition of our scientific collections at the Polar Museum. Here she is discussing conservation adhesives with Sophie, in our conservation lab:

Sophie and Ronja

We’re really looking forward to having Ronja with us for the next few months. She will be posting about some of these projects on the blog soon!

Christina

So Fargo, so good…

Tuesday, August 25th, 2015

The Wells Fargo Museum in Anchorage has a fantastic collection of artefacts made by the native peoples of Alaska, including the Aleut, Athabascans, Tlingit, Inupiat and Yupik. These groups have a very varied and beautiful material culture, and we are excited to be borrowing a large number of objects made by these people from the Wells Fargo Museum for our special exhibition in the summer and autumn of 2016.

Organising a loan exhibition when the lending museum is on the other side of the world brings its own challenges. Not the least of these is that a lot of historic Alaskan native artefacts are made using animal material covered by CITES laws on the trade in endangered species. This means that many of them have to have special licences to travel to the UK. Arranging these is a complex task for Willow!

The Wells Fargo Museum (which has a wonderful-sounding address on Northern Lights Boulevard, Anchorage) very generously gave us a choice of over 100 artefacts to borrow. But we only have room for about half that number in our show cases, so we had to choose. We only want to bring over the objects we can show and no more, since transporting museum artefacts round the world is risky for them, not to mention complicated and expensive.

The exhibition is being curated at the Polar Museum by the delightful Larry Rockhill, a SPRI Emeritus Associate and expert in Alaskan art:

Image of person

Using database printouts from Wells Fargo, Larry drew up a shortlist of the objects he wanted to tell the stories in the exhibition. Then we set about checking how many we have room for – the old-fashioned way.

I measured the footprints of all our display cases and shelves, and then taped these out with masking tape on a huge table in the Map Room. Next, using measurements from the Wells Fargo database, I cut out paper footprints of all the objects on the shortlist so we could see how much room they would take up on display. Then Larry and I arranged all the object footprints inside the display case footprints. We didn’t have room for everything, but this process helped us narrow the list down further and work out which objects were most important.

IMG_20150521_123924387_HDR  IMG_20150521_123930430

While we were looking in detail at how the objects will fit in the cases, we were also able to work out which ones will need display mounts. I am particularly excited about a group of prehistoric animal and human figures made from ivory, which are thousands of years old. They are all very small and so will need to be displayed thoughtfully to bring out their understated beauty.  This is a similar ivory carving recently sold at Sotheby’s – it is 2000 years old and just over 5 inches high.

N08386-74-lr-1.jpg.thumb.385.385

Now that the object list is finalised, we can go ahead and arrange transport to the UK – with any luck there is still plenty of time to do all the paperwork before next summer…


Sophie

All things Shackleton…

Friday, August 14th, 2015
SPRI P66/18/36. Frank Wild (left) and Ernest Shackleton (right).

SPRI P66/18/36. Frank Wild (left) and Ernest Shackleton (right).

This year we are in the midst of commemorating the centenary of the Imperial Trans-Antarctic Expedition 1914–17 (Endurance and Aurora), led by Sir Ernest Shackleton. It’s a tale that hardly needs retelling: Shackleton and his men survived one of the worst disasters in Antarctic history – their ship was crushed and sank, and they were forced to make an open boat journey to Elephant Island where they lived for over four months before they were rescued.

With just under six weeks to go until the opening of our new exhibition, By Endurance We Conquer: Shackleton and his Men, we’ve got Shackleton very much on our minds. The exhibition will commemorate all the men that sailed with Shackleton aboard the Endurance, and will also honour the Ross Sea Party (three of whom lost their lives), which laid the supply depots for the planned crossing of the Antarctic continent. This week saw the arrival of some of the objects we’re borrowing for the exhibition, including a pannikin which belonged to Shackleton himself and is marked with his initials, ‘E.H.S.’, and a yachtsman’s cap belonging to James Mann Wordie, expedition geologist.

New arrivals for By Endurance We Conquer: Shackleton and his Men

New arrivals for By Endurance We Conquer: Shackleton and his Men

We’ve spent several months drawing together information about all of the men from the Endurance expedition to create biographies for use in the exhibition and in touch-screens in the galleries. And we’ve just launched a volunteer project to put these biographies (and others) into our database, which has proved highly popular and has had an impressive sign-up.

However, we’re not just concerned with the Endurance expedition – our Shackleton focus extends to his other expeditions: the British National Antarctic Expedition 1901–04 (Discovery), led by Captain Robert Falcon Scott; the British Antarctic Expedition 1907–09 (Nimrod); and the Shackleton-Rowett Expedition 1921–22 (Quest), on which Shackleton died.

In 2014 SPRI received a generous grant from the Heritage Lottery Fund for By Endurance We Conquer: The Shackleton Project, which will unite the collections at SPRI (Archive, Museum, Library and Picture Library) through new acquisitions and interpretation of material relating to Sir Ernest Shackleton.

Photographing objects from the British Antarctic Expedition 1907-09 (Nimrod) for the Antarctic Cataloguing Project.

Photographing objects from the British Antarctic Expedition 1907-09 (Nimrod) for the Antarctic Cataloguing Project.

The museum collection contains material from all of Shackleton’s expeditions, including foodstuffs, goggles, medals and a thermometer from Nimrod; and crampon shoes, a sledging flag and a clock from Quest; as well as boots, Shackleton’s goggles, and the sextant used by Worsley during his extraordinary feat of navigation on the crossing from Elephant Island to South Georgia. Over the past few weeks as part of the Antarctic Cataloguing Project, we’ve been looking carefully at all of these objects and getting them photographed in order to produce detailed records for our forthcoming online catalogue. We’ve also been condition assessing them to highlight any future conservation needs. In addition, the education and outreach team have been working to create new Shackleton-related educational resources and a programme of events.

The Archives contain Shackleton’s diaries from all of his expeditions, as well as correspondence, lecture notes, poetry and papers written by Shackleton himself and his wife Emily. The collection also includes the diaries and papers of members of Nimrod, Endurance and Quest expeditions. These are currently being added to the database so that they will be a searchable resource in the future.

By Endurance We Conquer: Shackleton and his Men will open on Tuesday 22 September 2015 and run until 18 June 2016. To find out more about events commemorating the centenary of the Endurance expedition at SPRI and across the world, take a look at the Shackleton 100 website.

Greta

After the flood: dehumidifiers and drainage

Thursday, July 30th, 2015

Last week, I wrote about the flood that affected our basement stores following a sudden and violent thunderstorm. As I said then, the initial response went very smoothly, and we were able to clear all of the standing water out of the basement within a couple of hours. We didn’t stop there, however!

A flood can continue to be a problem for museum collections even after all of the water has been mopped up, and even if none of the objects got soaked directly. Having water all over the floor will raise the relative humidity (RH) of a room significantly, and if the water is not removed quickly and thoroughly, the humidity can stay high for days. An RH over 65-70% is enough to grow mould in the right conditions, especially for objects that have been affected by mould in the past.

The graph below shows data from our main basement store before and after the flood (click on the picture to see a larger version):

MSA

The point marked A (about 3.30am) is when the flood waters entered our basement; you can see the RH jump sharply from 55% to 65%. At this point, the water had only penetrated a couple of metres into the storeroom (despite covering the whole floor in other rooms), so you can see that even a little bit of water can make a big difference to the environmental conditions.

Point B is at 8am on the same morning, when the museum team started clearing water out of the basement. The RH falls over the following few hours, until it is back around 55%, which is where we would like it to be. Some of the fall in RH is because we pumped out all the standing water, but some of it is due to this machine:

15

This is a portable dehumidifier, and is one of the most useful bits of equipment we have in our stores. If we spot that the humidity is creeping up in one of our storerooms, we can move the dehumidifier in there and run it until the humidity is back within the safe range. We left it running for a few days in the main store, and it helped dry out the room completely.

In areas that had been more severely flooded, a more aggressive approach was needed. Even though we’d mopped up all the water from the floors, there was water trapped underneath cupboards and shelving, as well as in the atmosphere. We hired industrial dehumidifiers and ran them continuously to dry out these areas as quickly as possible.

The dehumidifier below (in the Library’s Map Room store) has an external water tank of 20 litres (about 4.5 gallons). While the room was drying out, the tank filled up completely every couple of days – that’s a lot of water that we were removing from the atmosphere!

16 17

To monitor the drying process, I moved one of our Eltek transmitters into the Map Room:

18

This transmitter collected information about the temperature and RH every half hour and sent it to my computer in the museum office. The data was displayed on a graph like this one (again, you can click on the image to see a bigger version):

Map Room 2

Point A is when we moved the dehumidifier into the Map Room and started monitoring the environment. The RH was 70% at that point – definitely not good news for the collections! After a week, the humidity had settled down and was in danger of becoming too low (point B), so we switched the dehumidifier off and waited to see what would happen. The only way to tell if an environment is stable is to turn everything off and see what happens without the dehumidifiers, heaters or fans. After a few days, the RH had crept back up to 60% again (point C), so we turned the dehumidifier on again to remove the last few bits of moisture from the room. Our basement stores are now all stable once more, and we’ve avoided any secondary damage to objects from the flood.

Mopping up was not confined to the inside, however! Outside the Institute is a try pot (a metal cauldron used in the whaling or sealing industries). The thunderstorm dislodged so many leaves and twigs from the tree above that the drainage hole drilled in the bottom became blocked and the pot filled with water. The result was a rather unpleasant stagnant, leafy soup.

The picture below shows Grahame with a “wet vac” – it’s exactly like the vacuum cleaners that we all have at home, but is designed to suck up water as well as dirt.

12

Grahame used the wet vac to remove all the water from the try pot, and then cleared out all the leaves so it could drain freely again.

11 13

The try pot is now lovely and clean once more, and everything is back to normal after the flooding. I think we can say that we well and truly weathered that storm, and are (hopefully) well prepared for the next one…

Christina

HLF